Home Network Setup : The Ultimate Guide to Boost Your Connectivity Experience!

Introduction
In today’s increasingly connected world, having a reliable and fast home network is no longer a luxury, it’s a necessity. Whether you’re working from home, streaming your favourite channels, or playing online, a strong network can make a difference. But setting up a home network can feel daunting, with so many options and technical terms to navigate. That’s where this guide comes in. I’ll walk you through everything you need to know to set up a seamless and powerful home network, from choosing the right equipment to optimising your Wi-Fi for peak performance. Let’s get started on boosting your connectivity!
Understanding the Basics of Home Networking
What is a home network, and why do you need one?
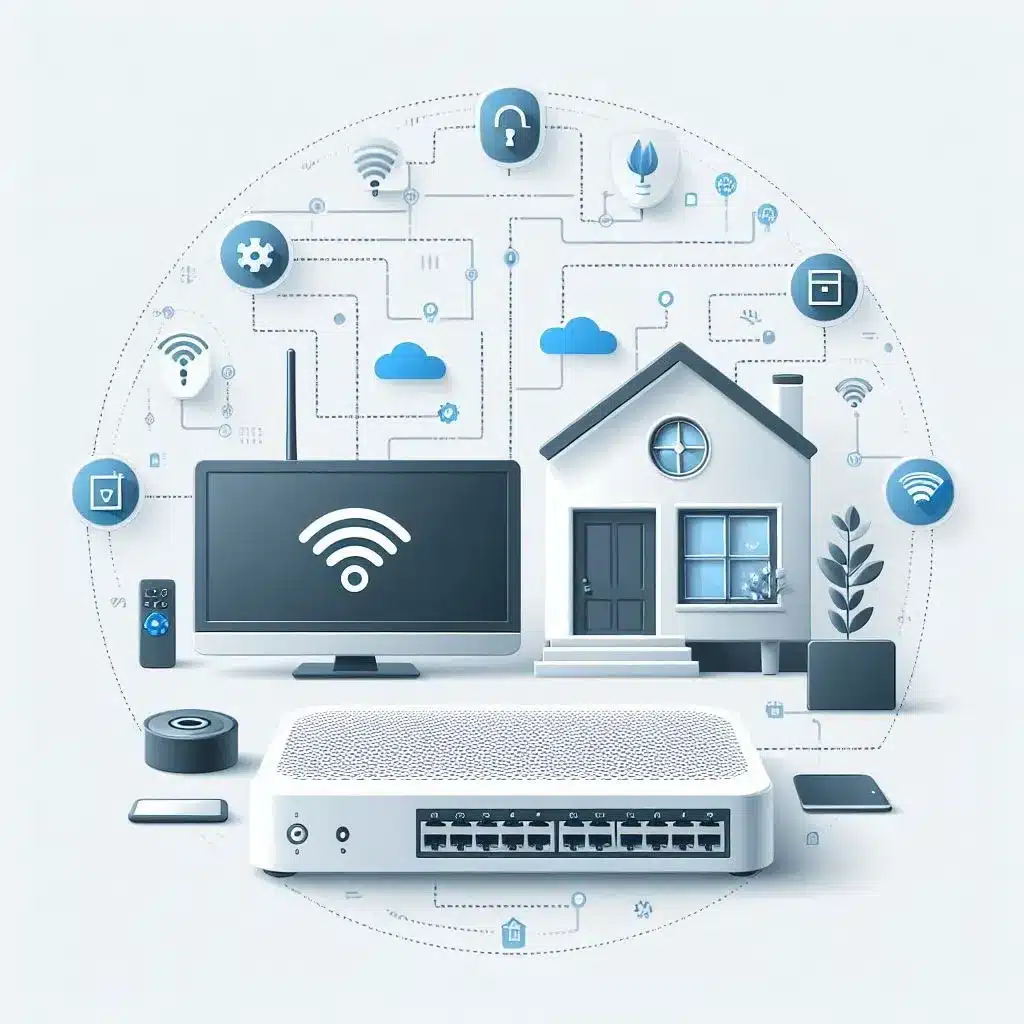
As its name states, a home network is a network of connected devices that work together to allow communications, access to the internet, and files sharing between various devices on this network ( PCs, Smartphones, TVs, printers … ), also providing accessibility for Smarthome and security devices.
Key components of a home network:
Home Network can consist of several devices such as:
- Modem:
It’s the gateway to the internet for your network, it connects the network with the Internet Service Provider (ISP). it transforms the signal from your ISP to a digital signal and delivers it to the router through ethernet cable.
- Router:
The main component of Home Network, it manages the network traffic coming out and into your network, and distributes the traffic through wireless or wired connections. It handles various tasks such as IP Addressing and security.
- Switch:
A switch is used to extend the wired connections available in your home network. While most home routers come with a few Ethernet ports, a switch can provide additional ports, allowing you to connect more devices via Ethernet cables for faster and more reliable connections.
- Access Point (AP):
A device that provides the WiFi coverage of your network, while a lot of home routers have built-in Wifi, you might need this device to extend your WiFi coverage of your network.
- Ethernet Cables:
These cables are used to connect the devices to the routers and switches, compared to WiFi connections, Ethernet cables are much faster and more reliable than Wireless connections.
There are some other components in the Home network like ( Network Interface Cards, Network Attached Storage, Firewalls …)
Difference between wired and wireless networks
Here is a table comparing the two connection methods:
| Feature | Wired | Wireless |
|---|---|---|
| Type | Physical Cables | Wi-Fi ( Radio Waves ) |
| Speed | Faster and More consistent in general | Less consistent speed, can be slower |
| Reliability | Stable, and less prone to interference and noise | Prone to interference and Signal attenuation |
| Security | Secure, need physical access to capture and intercept | Less secure, vulnerable to unauthorised access |
| Setup and Mobility | Needs Cabling, termination and cable management, Limited Mobility | Easy to Set Up, high mobility |
Choosing the Right Equipment for Your Home Network:
Choosing the best WiFi Router for your needs and budget involves considering several factors, including the size of your home, the number of devices you use, the types of online activities you engage in, and your budget. Here’s a guide to help you make an informed decision:
1) Your Requirements:
- Area Size and Layout:
- Small o medium:
A standard single or dual-band Wifi Router might be sufficient if you live in an apartment or a small house. It should provide coverage for most rooms.
- Large Homes:
Consider a WiFi router with a strong signal or mesh WiFi system.
- Number Of Devices:
- Few Devices (1-15):
If you have only a few devices connected to the network (like smartphones, computers, and a smart TV), a basic WiFi router with moderate bandwidth will work.
- Many Devices (15+): For a home with many connected devices, including smart home gadgets, gaming consoles, and multiple streaming devices, it’s better to go for a router with higher bandwidth and better multi-device handling capabilities.
- The thing you’re going to do online:
Your requirements might vary depending on your usage of the internet, for example:
- If you only need the internet for some normal browsing or general streaming or social media, a mid-range WiFi router would do the work for you.
- If you need the internet for more sophisticated work, like online gaming or high resolution streaming, you better consider getting a WiFi router with dual band or tri-band to do the heavy lifting.
2) Some Features:
- WiFi Type:
- WiFi 5 (802.11ac): up to 6.9 Gbps, but typically operates at around 200Mbps, it’s fine for most normal usage .
- WiFi 6 (802.11ax): with maximum speed limit of 9.6Gbps, ideal for the networks that require more efficiency and speed.
- There are also faster WiFi technologies like ( WiFi 6E & WiFi 7 )
- Band:
- Single Band (2.4 Ghz): for basic internet use, slow speed compared to other bands.
- Dual Band ( 2.4 Ghz & 5 GHz ): WiFi 6 supports Dual Band, it has a good balance between speed and coverage.
3) Advance Features:
Quality of services(QOS), Parental Control, Advance security, etc …
* Check this out for more Features
4) Your Budget:
Home Routers prices vary from as low as 50$ to more than 200$, if you have a small home network with normal usage, you can get a router like Tp-Link Archer C7 with dual band at an affordable price.
If you require more speed and efficiency, you can get a dual band wifi 6 router, like Asus RT-AX86U.
Modems, Network Switches, WiFi Extenders and Mesh Systems, Do you need them?
- Modems:
For most use cases, your ISP provides the modem once you purchase your internet plan, but if you’d like to get your own, here are something you might need to consider:
- Check if the modem is compatible with your ISP, not all Modems are compatible with all ISP, check your ISP website. Usually they list the compatible devices on their website.
- You need to match your plan speed, for example, if you have 400 Mbps internet plan speed, make sure your Modem can handle at least the same speed.
- Switches:
As we mentioned above, Ethernet cables are faster and more reliable than WiFi. So you might need to connect some devices to Ethernet instead of WiFi, like TV or Desktop, or NAS.
Although most WiFi routers come with a couple of Ethernet ports, usually would be enough, but if you need to connect more devices, it is always possible to connect an extra switch to your router.
You can choose from wide variety of Switches:
- Unmanaged Switch:
Plug & Play Switch, good for a simple home network.
- Managed Switch:
Gives you more control and advanced options for large networks.
- PoE Switches:
They come with a PoE feature, providing power alongside data over the same cable, it’s great to minimise the cabling.
- Wi-Fi Extenders:
A device that extends an existing WiFi network, it’s designed to boost the WiFi coverage of your WiFi network.
Pros:
Easy to set up, cheaper compared to WiFi mesh systems.
Cons:
Can affect the speed, Limited coverage ( not ideal for large networks )
- Mesh Wi-Fi Systems:
A system consists of multiple nodes that work together as a single WiFi network.
Pros:
Scalable, with consistent speed.
Cons:
More expensive than extenders, hard to set up.
Step-by-Step Guide to Setting Up Your Home Network
Now with all the information provided above, you will be able to plan and design a home network that best fits your requirements.
1) Preparing the needed devices
Modem: if you decided to change the modem provided by your ISP.
WiFi Router: our main component, you’ll spend most of the time configuring this device.
Ethernet Cables: used to connect devices physically to your router.
Switches, WiFi Extenders or Mesh Systems ( Optional Devices )
2) Connect your Modem to your WiFi Router:
The Modem should be connected to the ISP Connection ( DSL, Fiber, Cable ).
Then use Ethernet to connect the Modem to your Router’s WAN port.
3) Initial Setup for WiFi Router:
Usually when you get a new router, it comes with some default settings.
The default settings like WiFi SSID Name, Router IP Address, the router’s management portal credentials ( username, password ). Appear generally on the bottom of the router, or in the manual.
In this article, I’m going to use Tp-Link Archer c7.
First, power on your router, wait for the wifi light indicator to start.
Then connect your laptop or desktop through WiFi to the default WiFi SSID, (usually it’s written on the Router)
Then after you’re successfully connected, head to the web management portal of the Router by entering the default IP Address in your web browser. ( it would look something like 192.168.0.1 or 192.168.1.1)
Login to the web management by entering the default username and password, you can find it usually on the bottom of the Router ( in my case both username and password were “admin” ).
Most of the Routers have a Quick Setup Wizard once you open it for the first time, it would look something like this below:
For this guide, I’m going to skip the quick setup and setup everything one but one.
- Setup the inter connection ( WAN ) interface:
Head to advance section, and then choose “internet” under “Network”, usually in other vendors it’s called WAN:
Depending on the ISP Instructions, the connection type might be dynamic IP. But usually most of the ISPs are using the protocol PPPoE for their connection. So the ISP Will provide you with username and password for the internet connection.
For the sake of this tutorial, I’m going to configure it as PPPoE,
In the field “internet connection type” choose “PPPoE”, then enter the username and password, then press “connect”, wait until you get an IP Address, then press “Save”.
- Setup the Wifi SSID, and Security:
Head to the “Wireless” tab, then “Wireless Settings” and enter your WiFi Network Name and the security settings as shown below,you can also choose to Hide your network.
Then press “Save”, you can leave the other settings as default:
4) Extra Features and Security:
- Parental Control:
With this feature, you can define filters and apply them to the devices used by your kids. You don’t want them to watch Youtube videos instead of studying!
- Access Control:
Enabling access control allows you to block or allow devices to your network by adding them to a whitelist or a blacklist, and also check the online devices connected:
- Guest Network:
You can enable the guest network. The devices connected as guests won’t be able to reach other devices on your network, but they’ll be able to reach the internet.
For More Information about Home Network Security and Access Control, click here.
Optimization and Best Practices:
- WiFi Placement:
It’s always better to place the WiFi devices in a central position, away from walls.
- Monitoring the connected devices and the performance:
You can monitor the connected devices from the Router Management portal and check the speed of your internet through some online services like Ookla speed test, fast.com etc..
- Updates Passwords:
Changing your WiFi Passwords regularly is crucial to maintain security.
- Firmware updates:
You want to make sure that all firmware for all devices are up to date to maintain security and fix performance issues.
- WiFi Analysing Tools;
Consider using WiFi analysing tools like netspot, WiFi Monitor, in order to identify dead zones and optimise the WiFi coverage.
Conclusion:
In this article, We covered most of the things you need to know in order to effectively set up your home or small office network. Following these instructions, you will be able to optimise your network
Always remember to update your Router configurations to maintain performance and keep everything up to date.


